Manual Installation: Docker
1. Install requirements
Verify Docker and Git are installed and meet the minimum version requirements. See the Docker guide and the Git guide for help with installation.
docker -v; git --version;
Output:
Required Docker version: 20.10.0 or greater
Docker version 20.10.11, build dea9396e18
git version 2.25.1
See (Quickstart: Docker)[doc:quickstart-docker] for full installation requirements.
2. Generate unique secrets
Use the script below to generate unique secrets for your deployment.
Linux only: Install Docker Compose
Linux users must first install Docker Compose, as this isn't bundled with Docker as of writing.
Verify
docker-composeis installed:docker-compose -v
Choose your operating system below, then copy the command and run it in your Terminal.
## LINUX ONLY. For macOS, select "macOS" in the tab above.
## Tested on: Ubuntu 20.04

(#!/bin/bash

FILE=sublime.env

if [ -f "$FILE" ]; then
    echo "$FILE exists - aborting"
else
    POSTGRES_PASSWORD=$(openssl rand -hex 24)
    JWT_SECRET=$(openssl rand -hex 24)
     # note: key length must be 16, 24, or 32 bytes
    POSTGRES_ENCRYPTION_KEY=$(openssl rand -hex 32)
    FAKE_AWS_ACCESS_KEY_ID=$(openssl rand -hex 32)
    FAKE_AWS_SECRET_ACCESS_KEY=$(openssl rand -hex 32)

    echo "POSTGRES_PASSWORD=$POSTGRES_PASSWORD" >> $FILE
    echo "JWT_SECRET=$JWT_SECRET" >> $FILE
    echo "POSTGRES_ENCRYPTION_KEY=$POSTGRES_ENCRYPTION_KEY" >> $FILE
    echo "CORS_ALLOW_ORIGINS=http://localhost:3000" >> $FILE
    echo "BASE_URL=http://localhost:8000" >> $FILE
    echo "DASHBOARD_PUBLIC_BASE_URL=http://localhost:3000" >> $FILE
    echo "API_PUBLIC_BASE_URL=http://localhost:8000" >> $FILE
    echo "AWS_ACCESS_KEY_ID=fake_$FAKE_AWS_ACCESS_KEY_ID" >> $FILE
    echo "AWS_SECRET_ACCESS_KEY=fake_$FAKE_AWS_SECRET_ACCESS_KEY" >> $FILE

    echo "Successfully generated $FILE"
fi) && (git clone https://github.com/sublime-security/sublime-platform.git) && cd sublime-platform/ && (mv ../sublime.env .)
(FILE=sublime.env

if [ -f "$FILE" ]; then
    echo "$FILE exists - aborting"
else
    POSTGRES_PASSWORD=$(openssl rand -hex 24)
    JWT_SECRET=$(openssl rand -hex 24)
    POSTGRES_ENCRYPTION_KEY=$(openssl rand -hex 32)
    FAKE_AWS_ACCESS_KEY_ID=$(openssl rand -hex 32)
    FAKE_AWS_SECRET_ACCESS_KEY=$(openssl rand -hex 32)

    echo "POSTGRES_PASSWORD=$POSTGRES_PASSWORD" >> $FILE
    echo "JWT_SECRET=$JWT_SECRET" >> $FILE
    echo "POSTGRES_ENCRYPTION_KEY=$POSTGRES_ENCRYPTION_KEY" >> $FILE
    echo "CORS_ALLOW_ORIGINS=http://localhost:3000" >> $FILE
    echo "BASE_URL=http://localhost:8000" >> $FILE
    echo "DASHBOARD_PUBLIC_BASE_URL=http://localhost:3000" >> $FILE
    echo "API_PUBLIC_BASE_URL=http://localhost:8000" >> $FILE
    echo "AWS_ACCESS_KEY_ID=fake_$FAKE_AWS_ACCESS_KEY_ID" >> $FILE
    echo "AWS_SECRET_ACCESS_KEY=fake_$FAKE_AWS_SECRET_ACCESS_KEY" >> $FILE

    echo "Successfully generated $FILE"
fi) && (git clone https://github.com/sublime-security/sublime-platform.git) && cd sublime-platform/ && (mv ../sublime.env .)
3. Modify sublime.env
sublime.envRemote deployments only (eg VPS or VM)
If you deployed on your local machine, like on your laptop, no changes are required to your
sublime.envand you can proceed to the next step.
If you installed Sublime on a remote VPS or VM, you'll need to update the CORS settings in your generated sublime.env file to permit access to your Dashboard.
Replace localhost with the IP address of your remote system for the following variables in your sublime.env file:
CORS_ALLOW_ORIGINSBASE_URLDASHBOARD_PUBLIC_BASE_URLAPI_PUBLIC_BASE_URL
4. Start Docker containers
Run the following command to start the Docker containers in the background:
Linux:
sudo docker-compose up -d
macOS:
docker-compose up -d
5. Load Dashboard
Open your browser and navigate to the Dashboard at http://<remote-ip>:3000. If you deployed locally, use http://localhost:3000.
You should see a new browser window or tab indicating that your dashboard is loading:

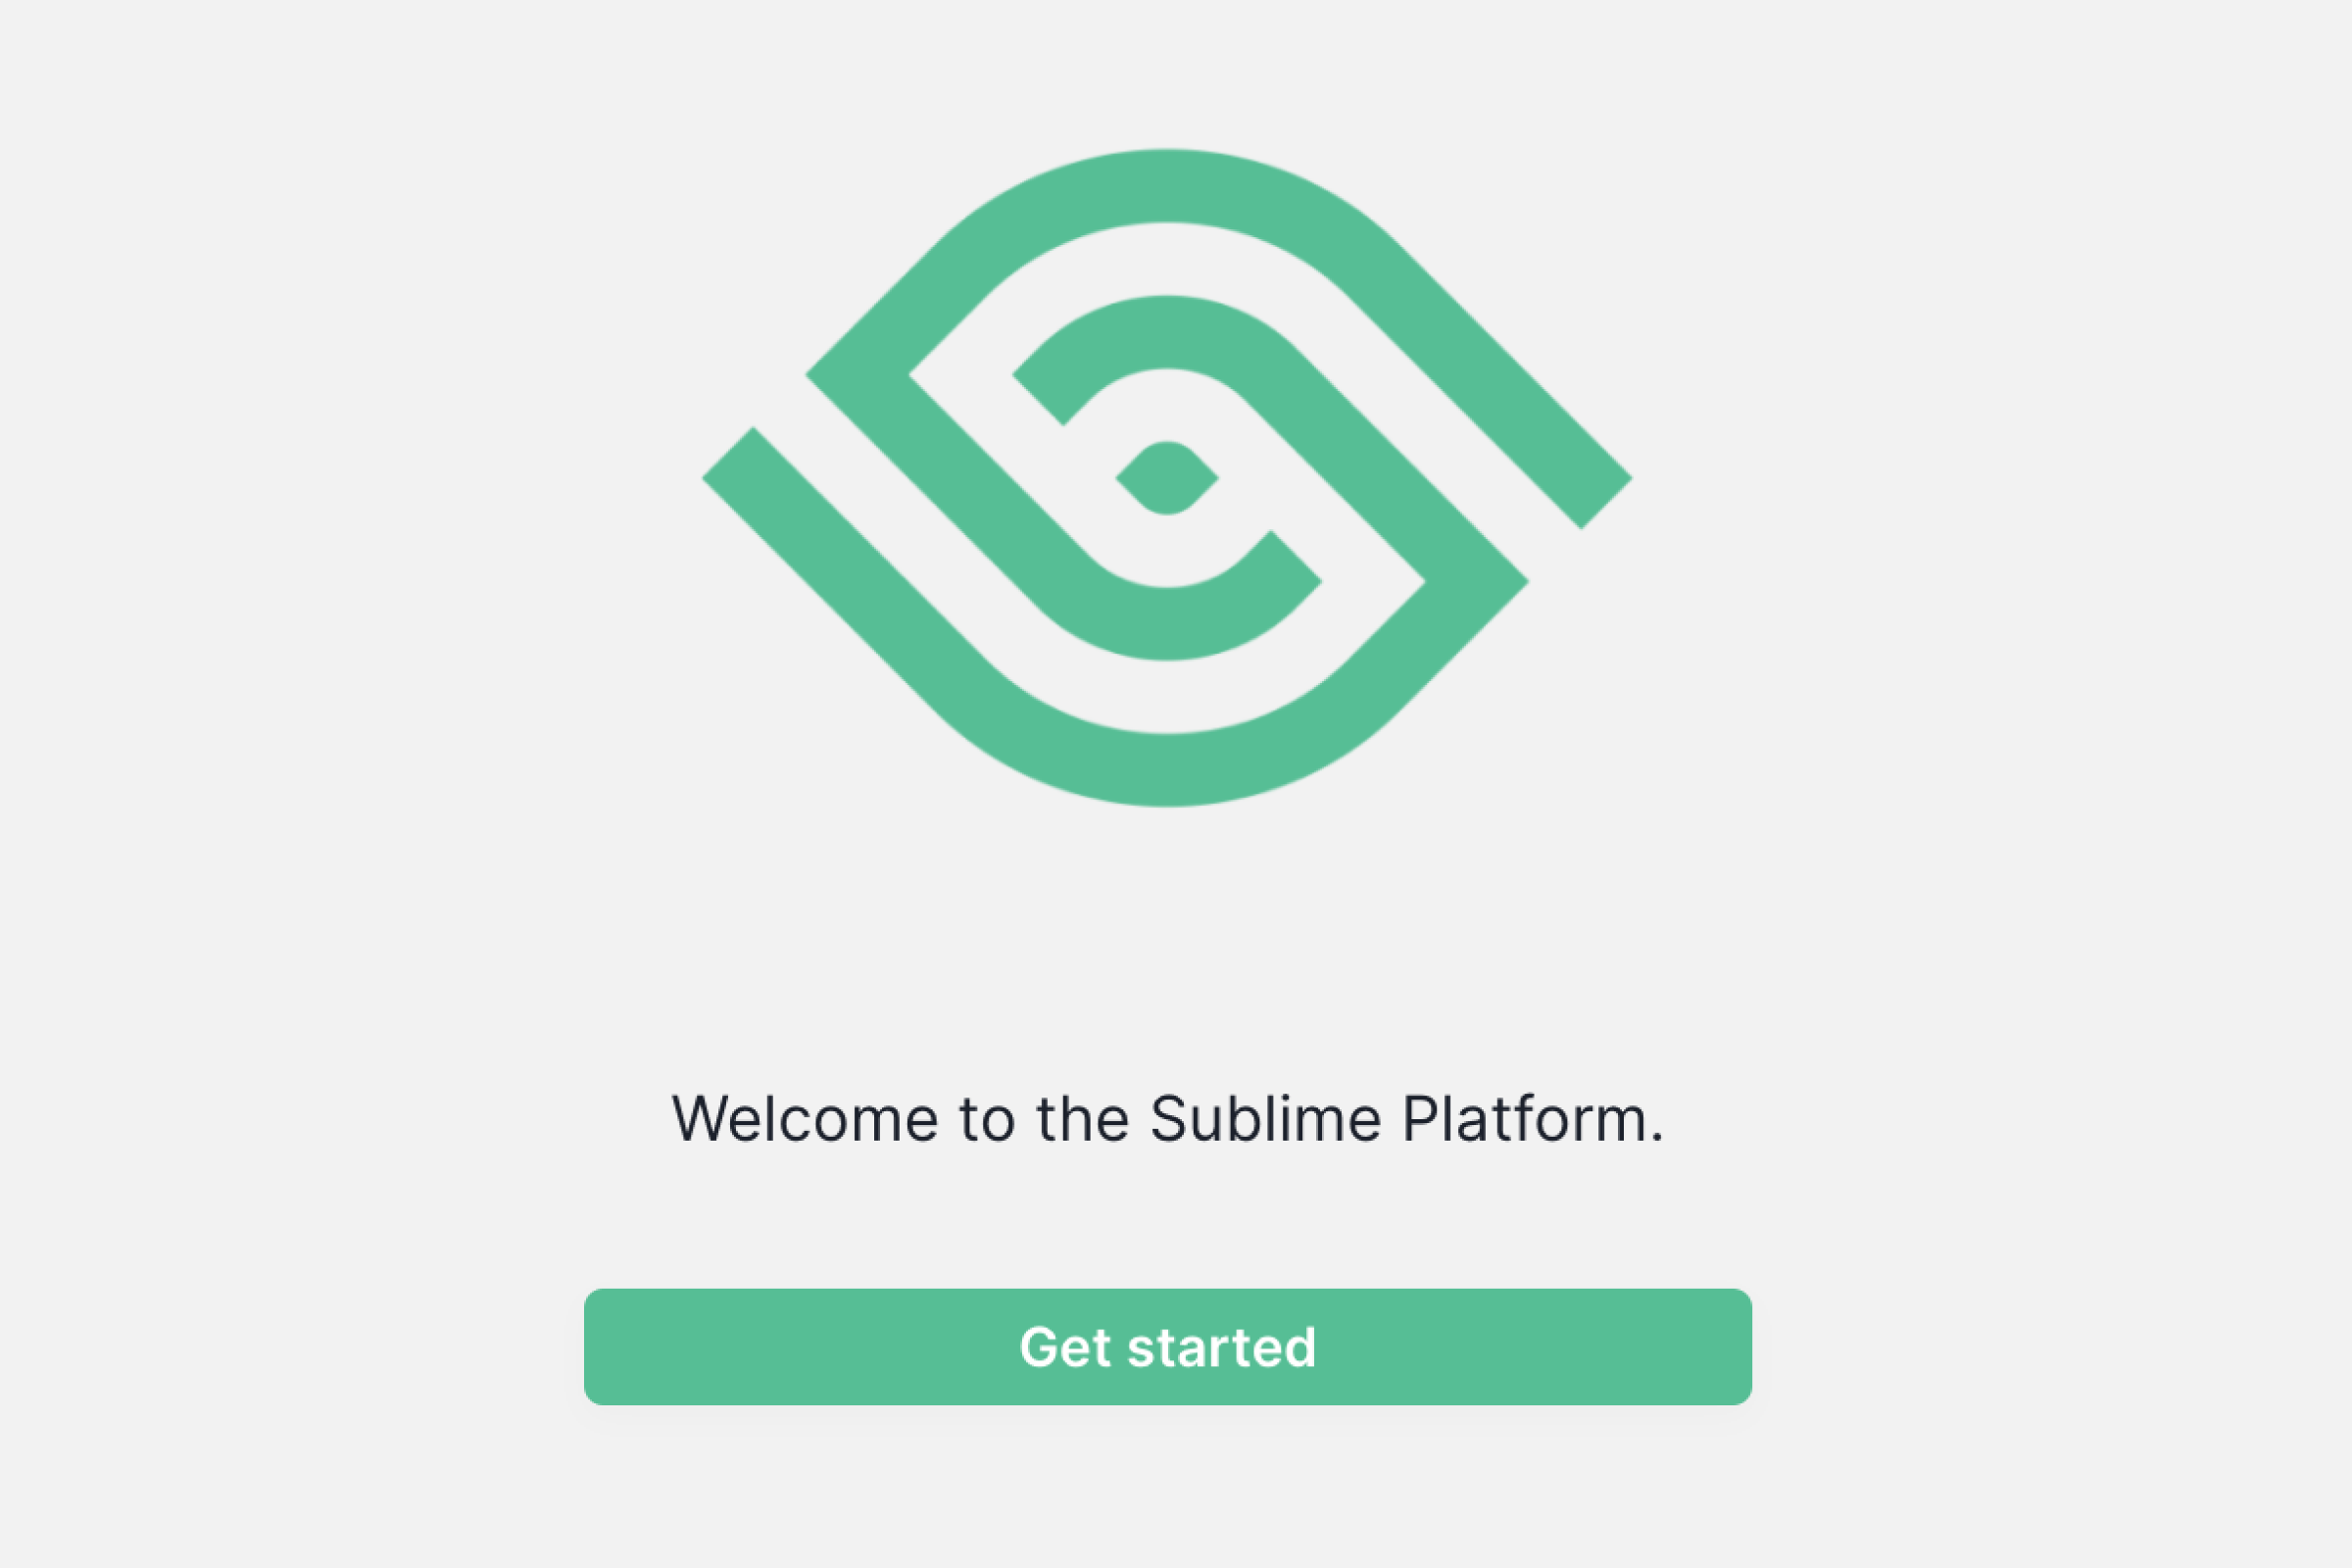
It may take a couple of minutes for all services to start for the first time, then you should see a welcome screen:

🎉 That's it! Click Get started to continue setup and configure your first message source.
Updated almost 2 years ago