
Add a Google Workspace message source
Overview
Google Workspace Super Administrator Required
To add a Google Workspace message source, you need to be a super administrator for your Google Workspace organization or get the help of a super administrator.
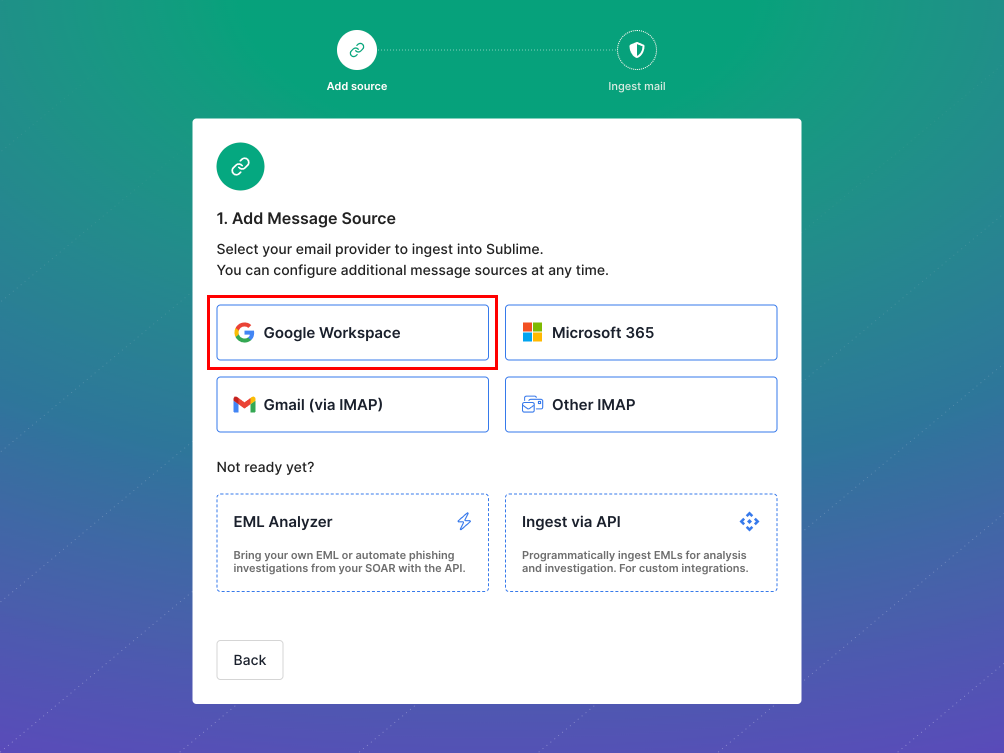
You can add a Google Workspace message source when setting up your Sublime organization or by going to Admin > Message Sources > New message source in the Sublime dashboard and selecting Google Workspace.
Once you select the option to add a Google Workspace message source, the next steps will depend on whether you're using Sublime Cloud or self-hosting Sublime.
Sublime Cloud (Fully Managed)
If you're using Sublime Cloud, simply select "Google Workspace" and follow the prompts to authorize access on behalf of your organization.
Self-Hosted
In order for your self-hosted instance of Sublime to access mail for your Google Workspace organization programmatically, you must upload a Google Cloud Platform service account key to which you've granted domain-wide delegation of authority for your Google Workspace organization. This is required so that only you have access to your mail, and not anyone else, including the Sublime team.
Google Cloud Project Creator Permission Required
To create a Google Workspace message source when self-hosting Sublime, you must have the Project Creator permission in Google Cloud, or get the help of a colleague with that permission.
This requirement for self-hosting is in addition to the Google Workspace super administrator requirement, which applies to both Sublime Cloud and self-hosting.
Creating a service account key
There are 3 high-level steps to creating a service account key, which are described in detail below:
- Set up a Google Cloud Platform project
- Create a service account for the project
- Grant domain-wide delegation to the service account
1. Set up a Google Cloud Platform project
- Go to https://console.cloud.google.com and sign in with your Google Workspace account
- If you've never used Google Cloud Platform before, agree to the terms

- Click the dropdown in the upper left

- Click the New Project button
- Add a project name in the Project name field (for example, "Sublime Platform")
- Click the Create button and wait a moment for the new project to be created
- Click Select Project in the notification for your new project in the upper right

- Type "admin sdk" into the search bar and select Admin SDK API in the search results

- Click the Enable button and wait for the page to reload when the Admin SDK API is enabled
- Type "gmail" into the search bar and select Gmail API in the search results
- Click the Enable button and wait for the page to reload when the Gmail API is enabled
- Type "cloud pub/sub" into the search bar and select Cloud Pub/Sub API in the search results
- Click the Enable button and wait for the page to reload when the Cloud Pub/Sub API is enabled
- Type "alert center" into the search bar and select Google Workspace Alert Center API in the search results
- Click the Enable button and wait for the page to reload when the Google Workspace Alert Center API is enabled
- Type "oauth" into the search bar and select OAuth consent screen in the search results
- Under User Type, select Internal
- Click the Create button
- Under App information, provide an app name (for example, "Sublime Platform")
- In the User support email dropdown, select your email address or any other available email address
- Scroll to the bottom of the interface and under Developer contact information, enter your email address
- Click the Save and Continue button. You can ignore the remaining OAuth options.
2. Create a service account
- In the Google Cloud Platform interface, type "service accounts" into the search bar and select Service Accounts in the search results
- Click the Create Service Account button
- Add a service account name (for example, "Sublime Platform") and optionally a service account description
- Click the Create and Continue button
- Under Grant this service account access to project, click the dropdown, search for "Pub/Sub Admin" and select the matching role.
- Click the Done button. You can ignore the remaining service account setup options.
- In the service accounts list, select the service account you just created
- Near the bottom of the details view, click Advanced settings
- Copy the Client ID that appears under Domain-wide Delegation and hold on to it for use later in this guide
- Click the Keys tab in the horizontal tabs list
- Click the Add Key dropdown
- Select Create new key
- Select the JSON key type if it's not selected by default
- Click the Create button and hold on to the file that is saved to your computer. This is the file you'll need when setting up a Google Workspace message source.
3. Grant domain-wide delegation
- Sign into the Google Workspace admin interface at https://admin.google.com
- In the lefthand sidebar, click Security > Access and data control > API controls
- Scroll down and click Manage Domain Wide Delegation under Domain wide delegation
- Click Add new
- Paste the Client ID you copied when configuring the service account
- Paste this value into the OAuth scopes field:
https://mail.google.com/,https://www.googleapis.com/auth/admin.directory.user.readonly,https://www.googleapis.com/auth/admin.directory.customer.readonly,https://www.googleapis.com/auth/admin.directory.domain.readonly,https://www.googleapis.com/auth/admin.directory.group.readonly,https://www.googleapis.com/auth/admin.directory.orgunit.readonly,https://www.googleapis.com/auth/admin.reports.audit.readonly,https://www.googleapis.com/auth/apps.alerts
- Click the Authorize button
4. Turn on Google's "User-reported phishing" rule
These steps ensure Sublime will receive notifications when users report messages through Gmail's "Report phishing" feature, allowing you to view these reports in Sublime.
- Sign into the Google Workspace admin interface at https://admin.google.com
- Click "Rules" in the sidebar on the left
- Locate the system-defined "User-reported phishing" rule and click it
- Mouse over the Actions section and click the edit icon that appears in the upper right
- If it's not checked, check the box next to "Send to alert center"
- Click Next: Review
- Click Update Rule
Use your new service account key
When setting up a Google Workspace message source in the Sublime Dashboard, paste the contents of the service account key file you downloaded into the Service Account Key JSON field.
Updated 5 months ago